In this post, I want to share with you my experience in running RTEMS 7.0 on my STM32F4(something) board.
Step1: Building the BSP
You need to obtain the bsp source code:
$ git clone https://gitlab.rtems.org/rtems/tools/rtems-source-builder.git rsb
$ cd rsb/rtems
Then choose an installation prefix (see the official docs). The STM32 is using Arm architecture, so we need to find that in the list of build sets and then: (In my case it’s 7/rtems-arm.bset)
$ ../source-builder/sb-set-builder --prefix=$HOME/arm 7/rtems-arm.bsetNow you should see the success output.
Step2: Building the App
We can use the rtems-examples repo to build a simple blinky app into the board.
$ git clone https://gitlab.rtems.org/rtems/rtos/rtems-examples
$ cd rtems-examples/led/delay
Finally, download and configure waf, according to your target:
$ curl https://waf.io/waf-2.0.19 > waf
$ chmod +x waf
$ git init
$ git submodule add https://gitlab.rtems.org/rtems/tools/rtems_waf.git rtems_waf
$ ./waf configure --prefix=$HOME/arm --rtems-bsps=arm/stm32f4
$ ./waf
After running waf, you should see the 'build-arm-rtems7-stm32f4' finished successfully message.
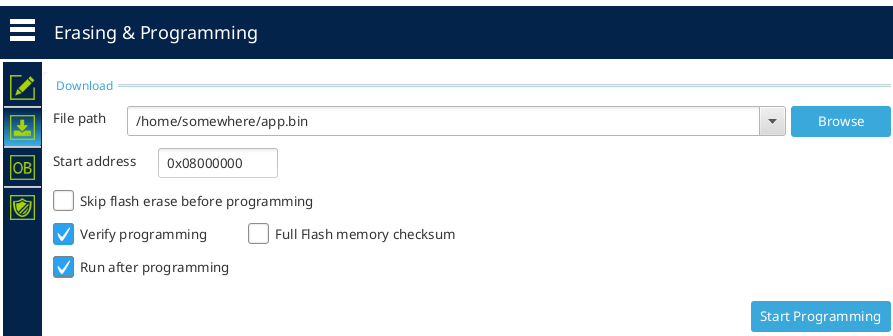
Step3: Program into the board
I use CubeProgrammer to program the app into the board. First, we need to convert it to bin:
$ arm-rtems7-objcopy -O binary build/arm-rtems7-stm32f4/delay.exe app.binAnd finally, select the app.bin in the CubeProgrammer and start the app!